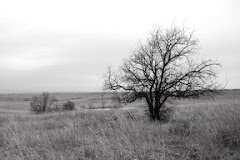
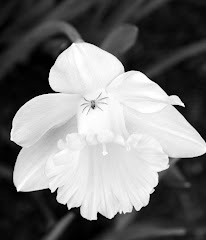
 Original Image
- Open your photo in Photoshop
- Duplicate the background layer by clicking Layer > Duplicate Layer.
- Blur your duplicate layer using the Gaussian Blur filter
- Click Filter > Blur > Gaussian Blur
- Set your blur to somewhere between 10 and 30 pixels – your image should look pretty blurry. Click OK.
- Use your elliptical marquee tool to draw an oval around the part of the image you would like to keep sharp.
- Feather the edges of your selection
On newer versions of Photoshop, click Select > Refine Edge
On older versions of Photoshop, click Select > Feather
Set your Feather Radius to a soft amount between 30 and 50 pixels. - Cut out your elliptical selection by clicking Edit > Cut
- Create a Hue/Saturation Layer by clicking Layer > New Adjustment Layer >
- Reduce your saturation to -40 or -50%
- Save your work as a psd or tiff to keep the layers
- If you are finished with your image, flatten your image by clicking Layer > Flatten image.
- Resave your work as a jpeg for sharing

e+b.jpg)
No comments:
Post a Comment