Here's the sequence of what I learned.
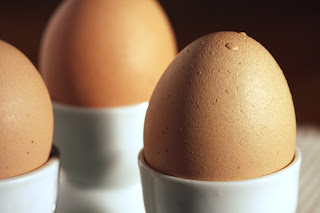
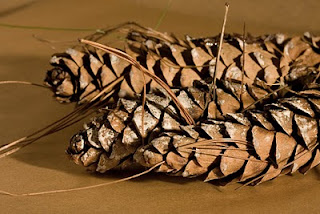
1.I brought the outdoors inside using a tungsten 3200K light with a white board fill. I shot a white paper to set the custom white balance for my camera but it didn't work--not sure why.
2. I then hoped to use the Adobe Camera Raw white balance tool but found that when I shot in Macro, I got JPEG images which don't open in Adobe Camera RAW.
3. That leaves Photoshop where I planned to adjust color on the white paper photo then drag the settings to the other photos. That worked but not successfully, probably because the white paper was not in the exact same place as the eggs & cones so the lighting was not the same.
4. Having maxed out my knowledge, I fell back on my improv skills and eyeballed the color using Photoshop desaturation and color balance tools to approximate reality: hold up the egg, compare with the image, adjust the color a bit more...


 Original Image


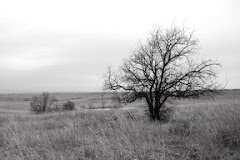
 it's all about viewing life


..jpg)
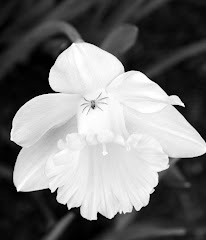
 to begin again in the New Year,
to begin again in the New Year,


e+b.jpg)


