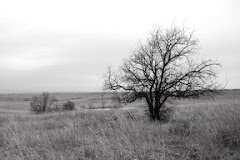


Note: In the full version of Photoshop, we can use layer masks to isolate a subject; In Photoshop Elements, there is no layer mask function for image layers, so we’ll be achieving the same effect using a Clipping Path.
- Choose two images and open both in Photoshop. One of these layers will be the background layer and the other will sit above. You may need to experiment to figure out which image works best as a background image.
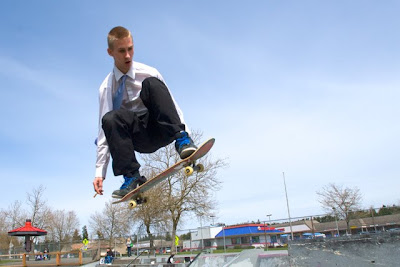
In our example, the skateboarder will be the background image. - Make your background (skateboarder) image the active image.
- Create a new blank layer by clicking Layer > New > Layer
- Click Window > Swatches
- Click on one of the vivid colors in the swatch panel (preferably one which is not in your image)
- Take your rectangular marquee tool and draw a rectangle around the part of the image you wish to keep.
- Click Select > Inverse to outline everything except your rectangular area.
- Click Edit > Fill; fill with your foreground color at 100%
Your canvas should be filled with the vivid color you chose in step 5. - Click Select > Deselect to make your outline disappear.
- Use your polygon lasso, magnetic lasso, magic wand or quick select tool (newer versions of Photoshop & Elements) to begin outlining small portions around your subject.
- Click Edit > Fill; fill with your foreground color at 100%
- Repeat steps 10 and 11 until your subject is completely surrounded by your vivid color.
- If you make an error, use your eraser tool to remove excess color. Re-outline your subject and fill again.
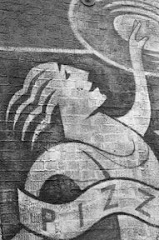
- Make your other image the active image. In this example, it is the graffiti.
- Click Edit > Select All
- Click Edit > Copy
- Make your background image the active image
with the vivid color layer as the active layer. - Click Edit > Paste
Your graffiti image should now cover the background image and vivid layer. - Save your work.
- Create a clipping mask
- In Photoshop CS2 or newer, Click Layer > Create Clipping Mask
- In older versions of Photoshop, Click Layer > Group with previous
- In Photoshop Elements 8, Click Layer > Create Clipping Mask
- In earlier versions of Elements, Click Layer > Group with Previous
- Save your work.
- (Optional) Use your move tool to move your topmost layer to a desirable position.
- (Optional) Crop your image
- Save your work.


e+b.jpg)
No comments:
Post a Comment